I hope you all had a wonderful Thanksgiving spent with family! We were blessed to be able to visit my family and have all of my sisters (all 5 of us) in one place. That hasn't happened in over a year!
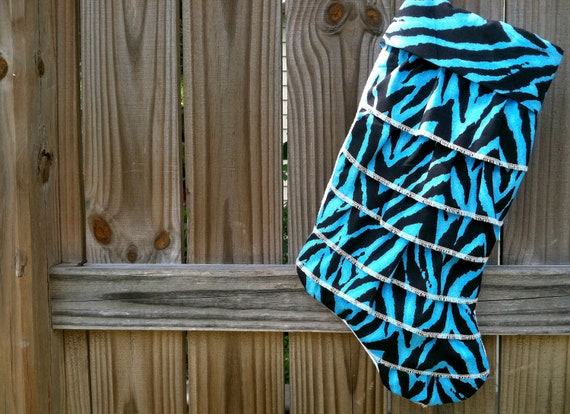
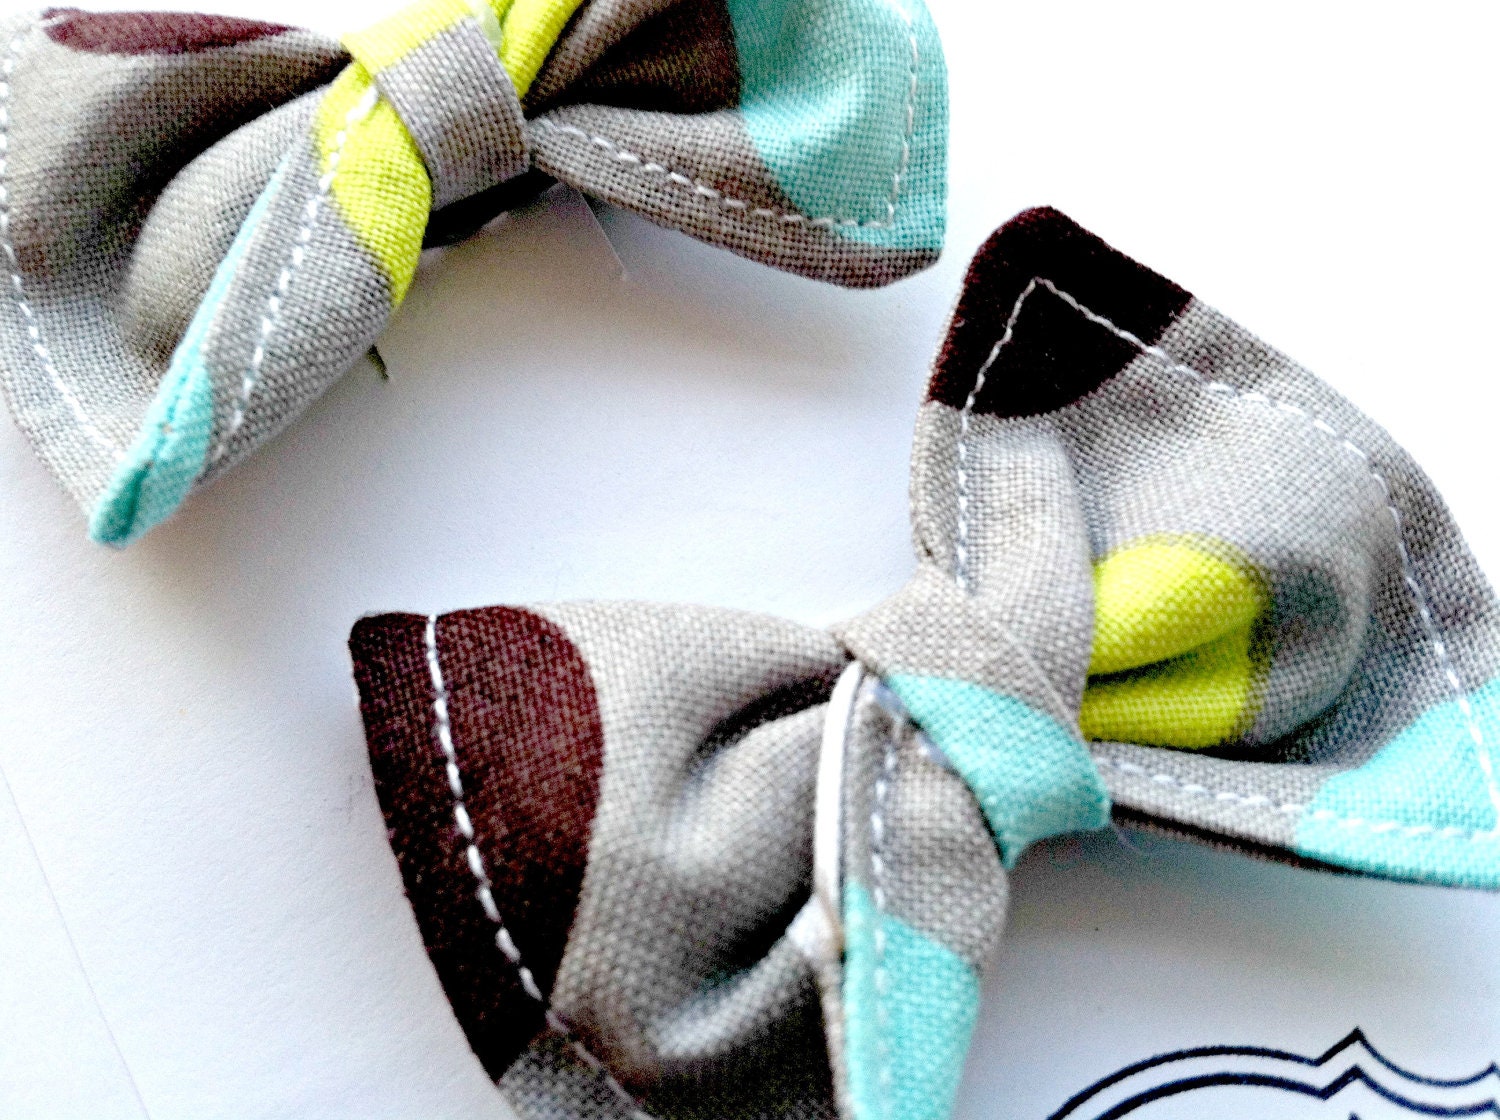
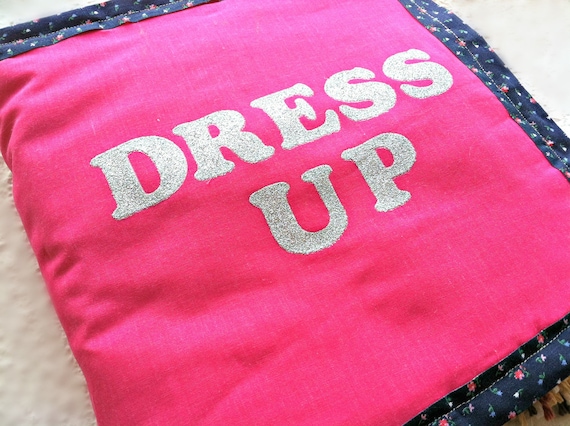
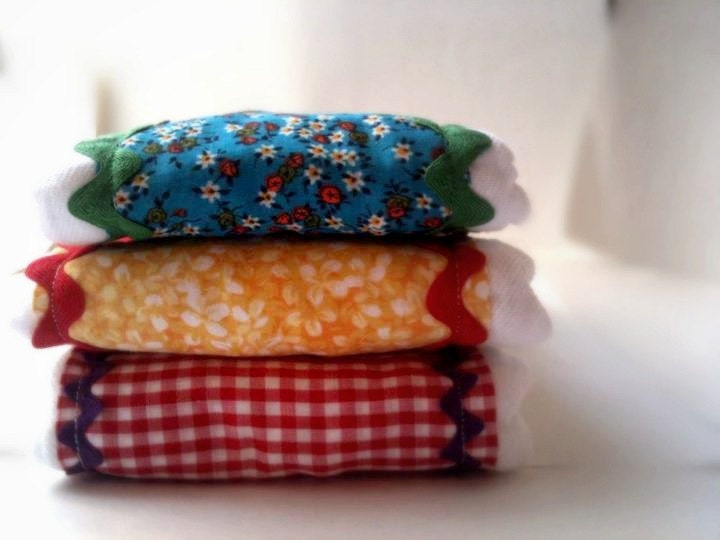
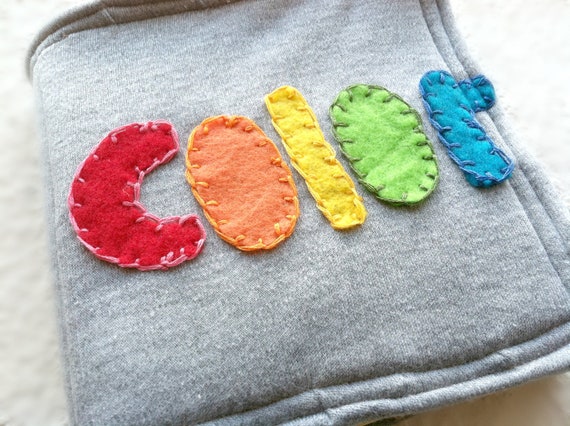
To celebrate this Christmas season I am having a sale in my Etsy shop! You can get 25% off anything your heart desires now through November 30th using the coupon code HAPPYHOLIDAYS at check out! So hop on over to The Green Crayon and check out the goodies available!
Here are some of the items you can find in my shop....
"For I know that I am fearfully and wonderfully made in You...You make it Beautiful Somehow"
Pages
Sunday, November 25, 2012
Tuesday, November 6, 2012
Pom Poms, Pillows, and Passing Things Down
I have been having so much fun putting together all of the small touches in Charlotte's nursery. My newest crush: Pom poms! After using them on my Lamp redo I have been thinking of all other places I can add them!
So, pom pom trim for a pillow? Absolutely!!!
This pillow was extremely easy to make and only took about 15 minutes to finish. I have been holding on to this vintage floral mint green fabric for forever, just waiting for the perfect time to use it. It goes perfectly in Charlotte's nursery! I bought the pink pom pom trim at Hancocks on sale, and stuffed it with left over stuffing from other projects. This pillow cost me only $1.50 to make!
For a good tutorial on making your own pillow covers check out...
The Sweet Survival: Sew a Pillow with Piping
E Tells Tales: Big Bow Pillow Tutorial
Teal and Lime: Envelope Pillow Tutorial
I just love those little pom poms! Luke loves them too and calls them balls...he has tried his hardest to remove them already. Ha!
For right now this pillow's home is on this adorable little wooden chair, next to Charlotte's toy cradle and baby dolls. I love being able to pass things that were mine, onto my baby girl. The doll, teddy bear, and cradle were all mine as a little girl. I am still debating on wether or not I want to sand down and repaint the cradle and the chair...not too sure yet.
I actually have at least one, maybe two or three more projects where I can see myself adding more pom pom trim. :-) I'm telling you....totally in love with the pom poms!
Linking to: Not Just a Housewife
Friday, November 2, 2012
Ombre Dresser
Here is another project that I have had finished for Charlotte's room for a little while now: Ombre Dresser. After seeing this post from Decor 8 with the Ombre DIY Dresser, I knew I wanted to copy it for Charlotte's room!
I had been looking for a small dresser for Charlotte's room for just a little while, and was so excited when I found the perfect little wood dresser at the thrift store for only $20!
I was going to do exactly like Decor 8 suggests by getting paint samples and painting each drawer a color from a swatch I liked. Their dresser is in Apricot shades and I decided to go with more of a pink/coral color. Well I found the perfect coral swatch at walmart but found out they don't sell paint samples. And any one who knows me well, knows that when I start a project I want to finish it quickly. I hate wait. So I decided instead of trying to find a Lowes or something around us I would just grab some Apple Barrell paint that matched the darkest color perfectly, and add white to lighten to the other shades. I didn't end up with the *perfect* shades but I got really close. Plus the paint only cost me $2 total. Awesome!
So here is my final result...
(Please attempt to ignore our floor...it currently has concrete and some temporary carpet)
I am so pleased with how it turned out! I think the colors fade perfectly into each other, yet each one stands out. I am contemplating replacing the knobs with some glass looking ones, but am not completely sure yet.
Once the drawers had dried I lined them with some contact paper, moved the dresser into Charlotte's room, and promptly added a few cute and cuddly baby girl clothes...
Gah! Aren't those baby socks too cute!!!! I can't wait to fill the rest of the dresser with girly goodness!
Linking to: Not Just a Housewife
I had been looking for a small dresser for Charlotte's room for just a little while, and was so excited when I found the perfect little wood dresser at the thrift store for only $20!
So here is my final result...
(Please attempt to ignore our floor...it currently has concrete and some temporary carpet)
I am so pleased with how it turned out! I think the colors fade perfectly into each other, yet each one stands out. I am contemplating replacing the knobs with some glass looking ones, but am not completely sure yet.
Once the drawers had dried I lined them with some contact paper, moved the dresser into Charlotte's room, and promptly added a few cute and cuddly baby girl clothes...
Gah! Aren't those baby socks too cute!!!! I can't wait to fill the rest of the dresser with girly goodness!
Linking to: Not Just a Housewife
Labels:
DIY,
Dresser Makeover,
Nursery,
Ombre Dresser,
Painting Furniture
Subscribe to:
Comments (Atom)
